Demo Program
This chapter will introduce the compilation and running methods of demos on various system platforms. The demo code is located in the demo directory:
TIP
The source code is compiled using CMake. The latest compiled libraries for various platforms can be found here
iOS
Make sure the iOS library has been compiled (reference), open the project in gpupixel/demo/ios with Xcode
WARNING
If you are creating your own Xcode project, remember to turn off the Build Settings -> Compress PNG Files -> NO option, otherwise it will cause image color inversion
Mac
Make sure the MacOS library has been compiled (reference), open the project in gpupixel/demo/mac with Xcode
WARNING
If you are creating your own Xcode project, remember to turn off the Build Settings -> Compress PNG Files -> NO option, otherwise it will cause image color inversion
Android
Copy the generated gpupixel.aar to the demo/android/app/libs directory, and open the directory demo/android with Android Studio
The calling logic is in MainActivity, select the app target, connect to the phone and run
Desktop
Desktop Demo compilation requires the following environment:
Environment Requirements
- Microsoft Visual Studio >= 2017 (Windows)
- cmake >= 3.10
- mesa-utils, libglu1-mesa-dev, freeglut3-dev, mesa-common-dev, libglfw3-dev (Linux)
Windows Build Environment Configuration
It is recommended to use Windows Terminal and select the corresponding VS environment tab for compilation. 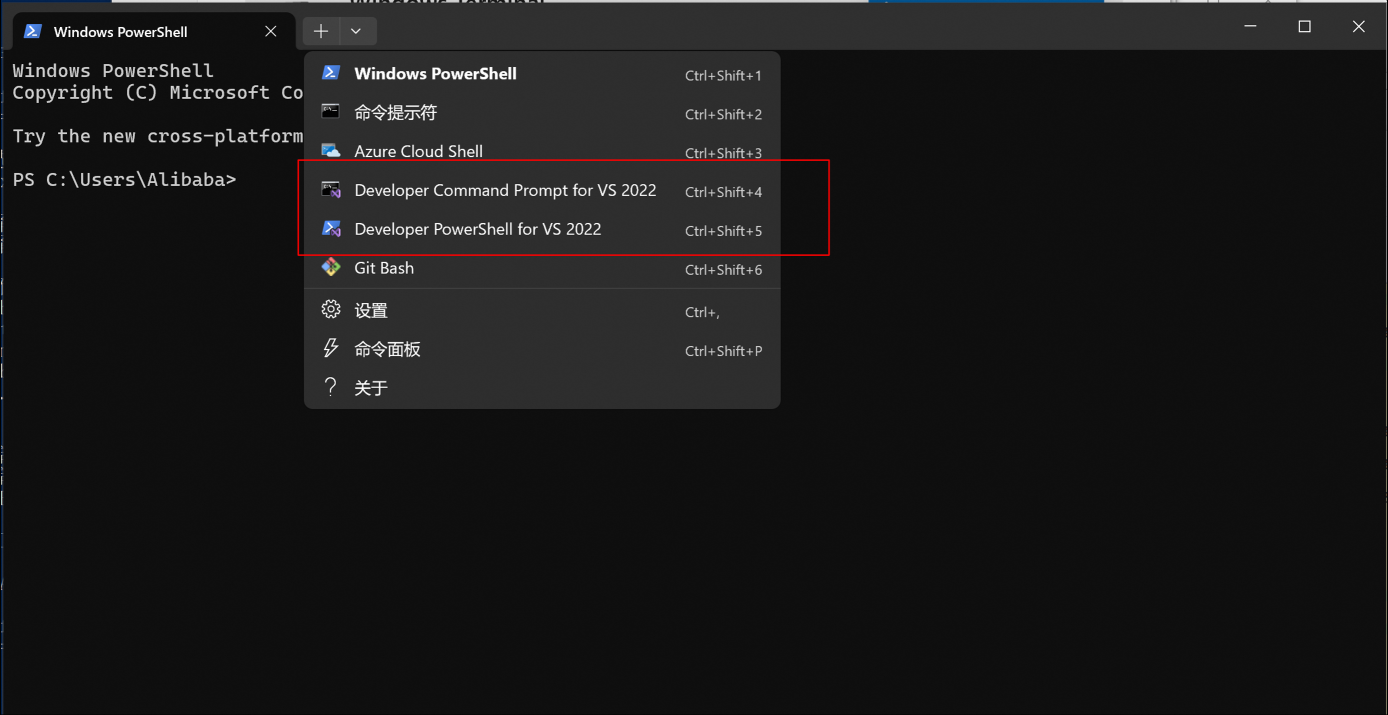 If not using Windows Terminal, you can configure as follows:
- 64-bit compilation: Find and click
vcvars64.bat(x64 Native Tools Command Prompt for VS 2017) in settings to open the VS virtual environment for compiling x64 architecture programs
WARNING
Windows only supports generating x86_64 Release version, x86_32 is not supported currently
Linux Build Environment Configuration
bash
./script/setup_env_linux.shCompilation
After configuring the environment, execute the batch file at the root directory of the project:
Windows:
bash
.\script\build_windows.batLinux:
bash
./script/build_linux.shThe demo is in the output/bin directory